What does correct idler roller installation require before the belt runs?
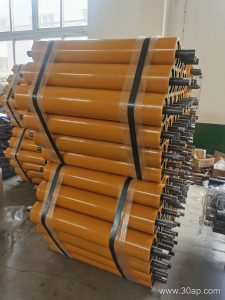
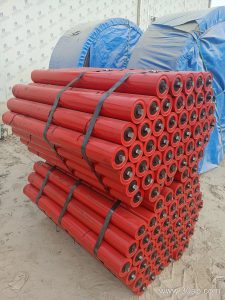
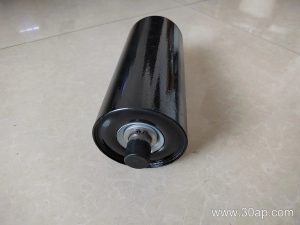
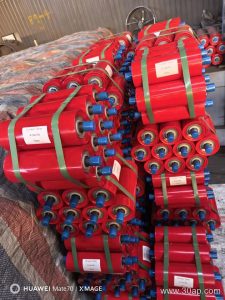
An idler roller must sit square, level and free-turning before it carries load. In a mineral-processing plant, dust and vibration punish any shortcut, so preparation and alignment matter more than speed.
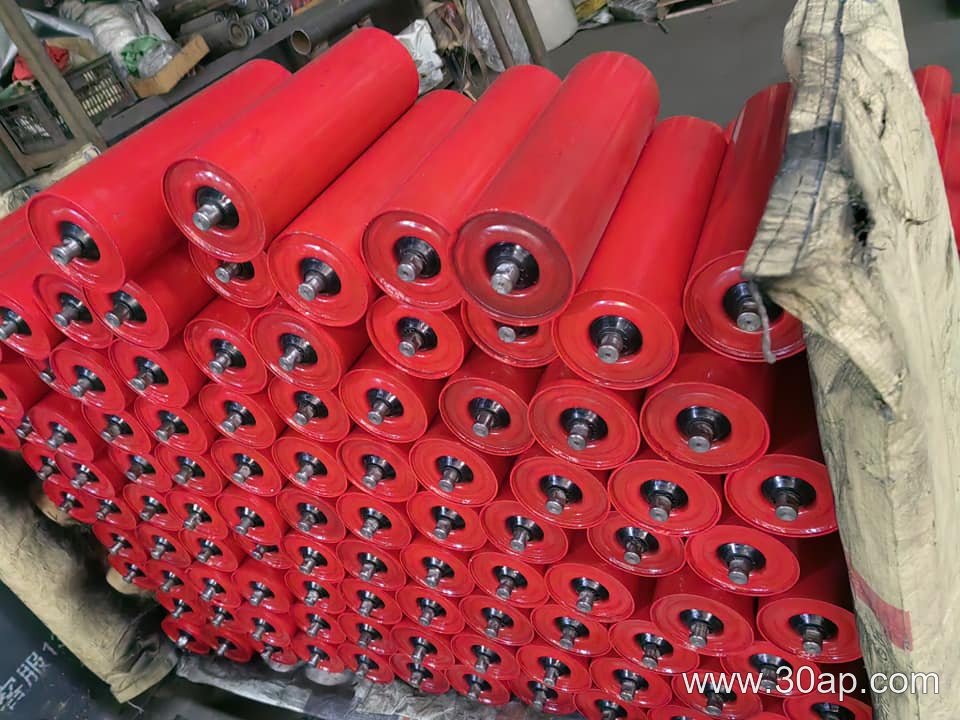
Preparation and mounting checks
- Inspect the frame for bent brackets, weld spatter and compacted ore fines.
- Confirm the idler roller shaft and bearing housings match the bracket slot.
- Clean the seating faces so the roller does not sit on grit.
Alignment and commissioning
Use a string line or laser to check that the roller axis is perpendicular to the belt centreline. A roller that is square but high on one side will steer the belt. After mounting, turn each idler roller by hand and listen for roughness. During commissioning, run the empty belt and watch for drift, then load gradually and recheck. These steps are general practice; actual tolerances depend on the conveyor design and should be confirmed by the project engineer.
Conveyor Pulley Selection Under a 500 mm Shaft Constraint
For a hypothetical cement plant, assume a conveyor pulley must handle 800 t/h clinker with a shaft diameter limited to 500 mm. This constraint forces trade-offs between shell thickness, lagging type, and bearing size. Follow this checklist.
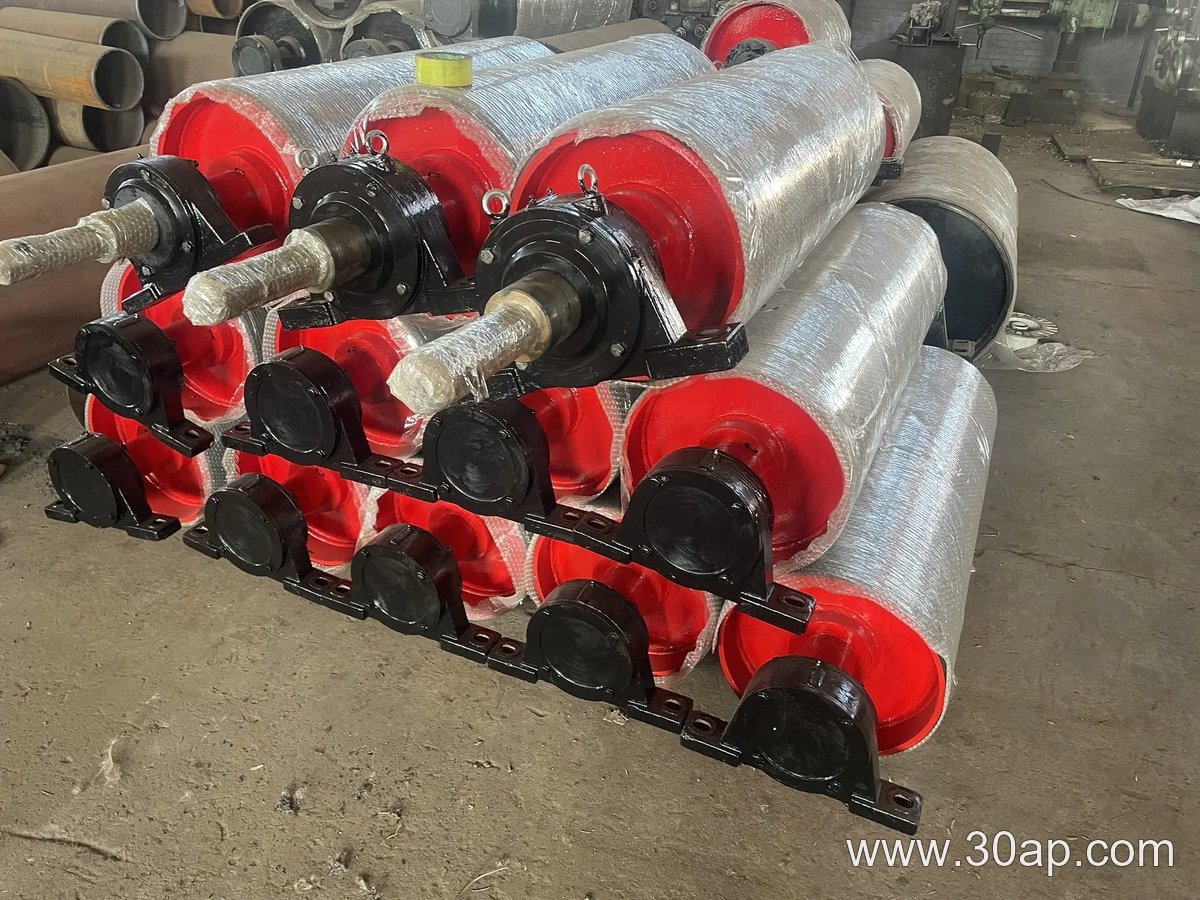
- Confirm belt width and wrap angle to estimate torque.
- Select lagging: rubber for grip, ceramic for abrasion.
- Check shaft deflection under load; 500 mm limits stiffness.
- Choose bearing type that fits the shaft without overloading.
Given the 500 mm shaft, a high-strength pulley with a thicker shell may be needed to resist bending. Avoid excessive lagging thickness, which adds weight and stress. Verify that the pulley face length matches the belt width plus margin. This selection balances durability and the dimensional limit.
Why bolt hole clearance drives conveyor bracket performance in a quarry
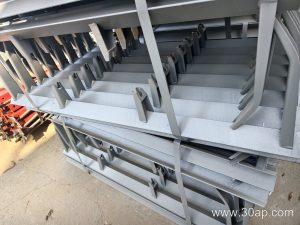
In a dusty quarry, a conveyor bracket must allow for thermal expansion while resisting abrasive fines. Too little clearance risks binding; too much lets the bracket shift under load.
Hypothetical project constraint
Assume a 1.2 m wide belt, 40 °C daily swing, and a 22 mm bolt. For a 500 mm long bracket, use a slotted hole giving 3 mm total clearance along the belt direction. This accommodates thermal growth without losing alignment.
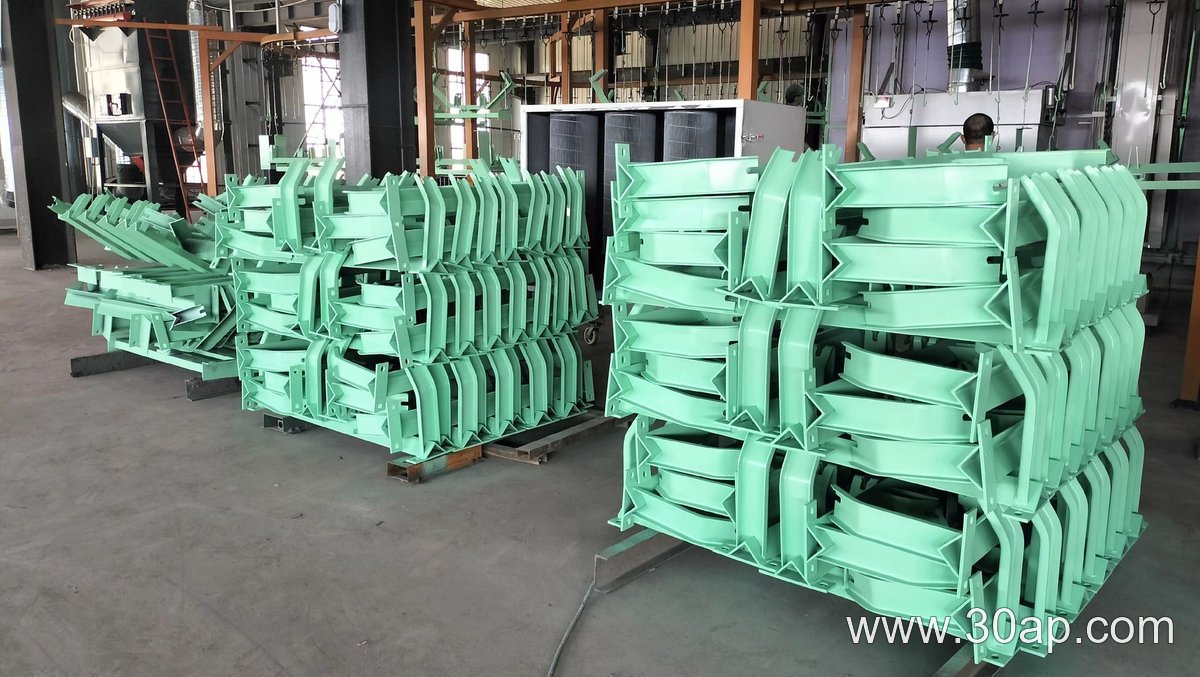
Selection steps
- Calculate thermal growth: length × expansion coefficient × temperature change.
- Add 1.5–2 mm for dust and installation tolerance.
- Confirm slot orientation and washer coverage.
This approach keeps the conveyor bracket secure yet free to move, reducing wear in a dusty quarry.
Which Rubber Compound Balances Wear Life and Cost for a Cement Plant Conveyor Belt
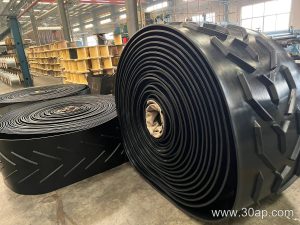
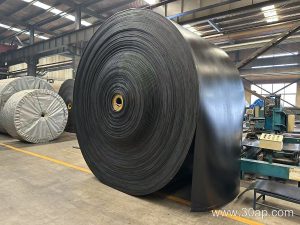
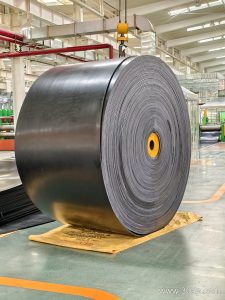
Procurement teams often assume the hardest rubber cover always saves money over time. In a cement plant, that logic fails when limestone dust and clinker fines wear the belt at different rates. A conveyor belt’s cover compound determines both abrasion resistance and purchase price, so the trade-off is real.
Comparing Two Common Cover Materials
Two widely used options are standard abrasion-resistant rubber and high-abrasion-resistant rubber. The first costs less per meter and handles moderate wear from dry limestone. The second resists sharper clinker and prolongs service life, but raises the initial conveyor belt price.
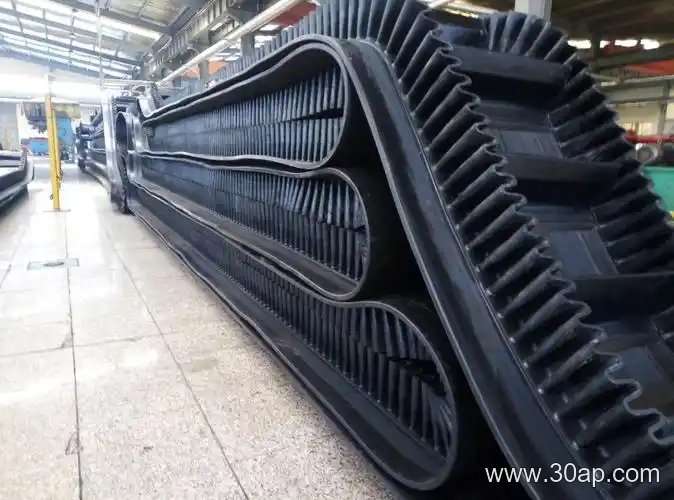
Application Fit Versus Purchasing Cost
- Standard compound: lower purchase cost, shorter replacement interval on abrasive clinker.
- High-abrasion compound: higher purchase cost, longer wear life when impact and sharp edges dominate.
For a cement plant, choose the standard cover only where material is fine and non-sharp. Where clinker or mixed dust is present, the higher-cost conveyor belt often reduces total cost per ton conveyed. Mark any plant trial as hypothetical and verify wear rates with actual service data.