What a Guide Idler Bracket Does
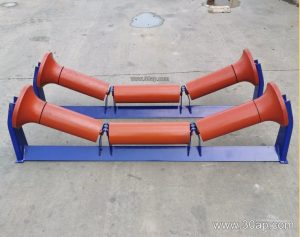
A guide idler bracket is the mounting component that holds a guide idler in a fixed position along a conveyor frame, keeping the belt aligned as it travels. In many plants, this bracket is also called a guide roller bracket or belt guide bracket. It differs from a standard carrying bracket because its job is not to support the full material load; it is to correct small lateral drift and give the belt a defined reference line. On a quarry conveyor or a cement plant transfer line, a few well-placed guide brackets can reduce edge damage and spillage before they become a maintenance problem.
Construction and Mounting Position
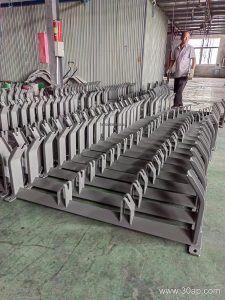
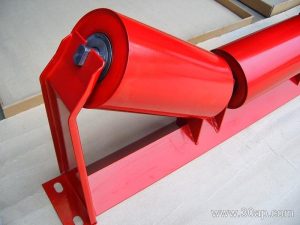
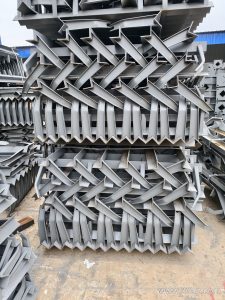
Most guide idler brackets are fabricated from angle steel, channel steel, or folded steel plate, then drilled or slotted to match the frame. The bracket usually carries a short vertical or angled idler that contacts the belt edge. Mounting position matters: guide brackets are commonly placed just before the head pulley, after a loading point, or on the return side where tracking is unstable. On a conveyor bracket assembly, the guide bracket should be square to the belt centerline, because a skewed bracket can itself push the belt off track.
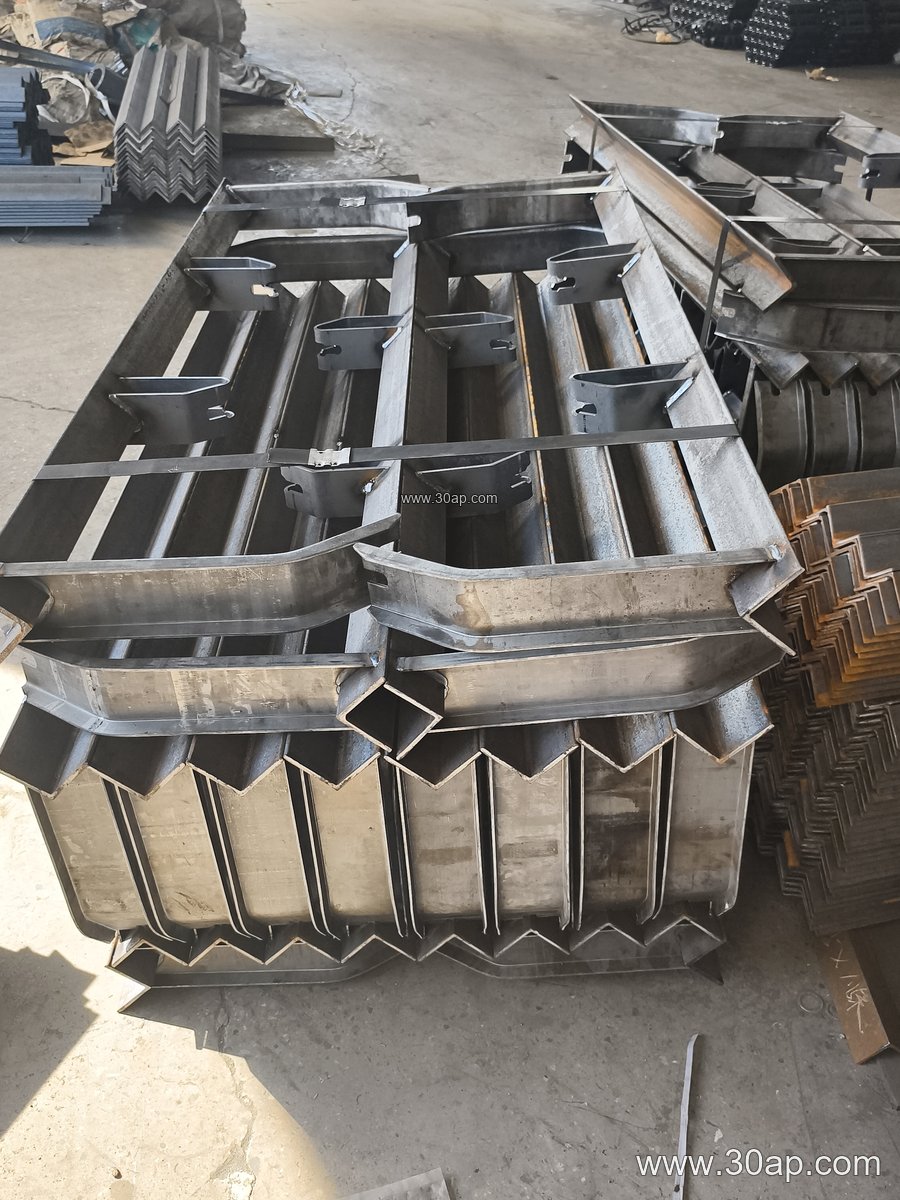
Some designs are fixed, while others are adjustable. An adjustable guide idler bracket allows the guide roller to be moved in or out, which is useful when belt width or edge condition changes. Fixed brackets are simpler and suit lines where alignment is already stable.
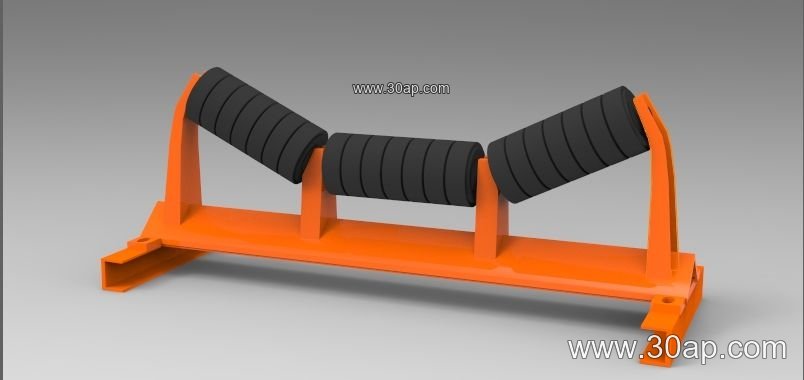
Where It Fits in the Conveyor System
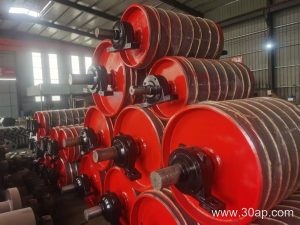
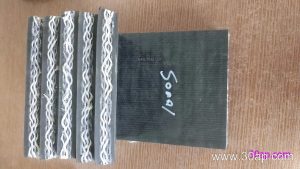
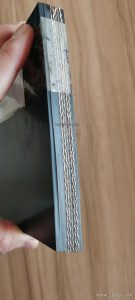
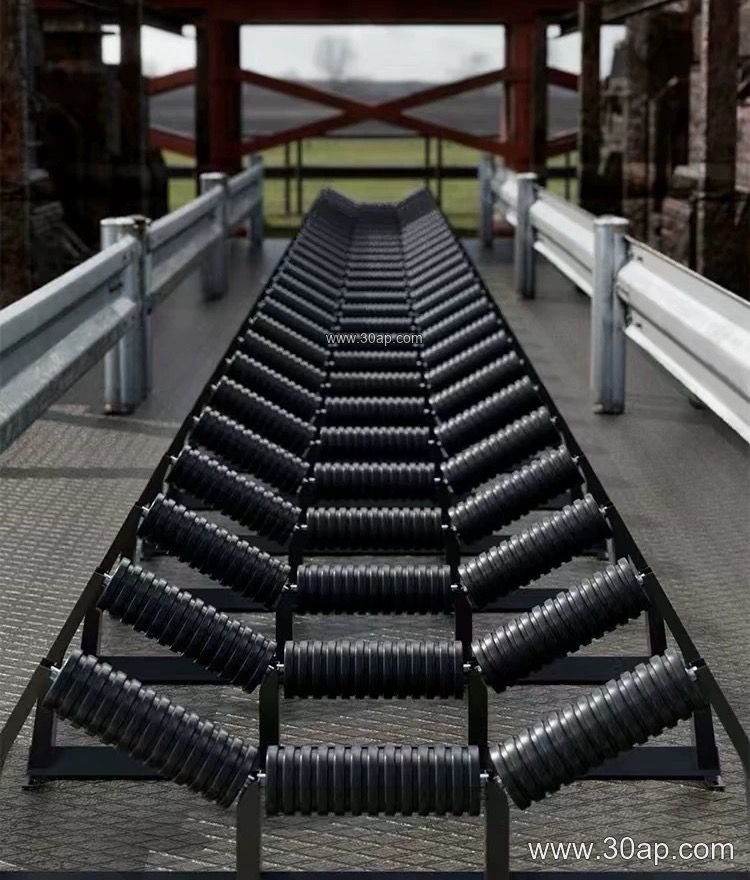
Guide brackets work alongside idler rollers, conveyor pulleys, and the conveyor belt itself. They are common in bulk handling sites such as limestone mines, coal washing plants, power station coal yards, and aggregate crushing and screening lines. In these places, a Rubber Conveyor Belt or an EP Conveyor Belt may run slightly off-center after a load shift, and the guide bracket provides a low-cost correction point. It is not a substitute for a bend pulley or a tail pulley; those components change belt direction, while the guide bracket only influences tracking.
Common Reference Dimensions
The table below shows typical reference combinations, not universal rules. Actual hole spacing and crossbeam length are determined by belt width, trough angle, and frame design.
| Belt width | Trough angle | Idler diameter | Typical bracket material |
|---|---|---|---|
| B500 | 20 degrees | Ø89 | Angle steel |
| B650 | 30 degrees | Ø89 | Angle steel |
| B800 | 35 degrees | Ø108 | Channel steel |
| B1000 | 35 degrees | Ø108 | Channel steel |
| B1200 | 45 degrees | Ø133 | Folded steel plate |
| B1400 | 45 degrees | Ø133 | Folded steel plate |
| B1600 | 35 degrees | Ø159 | Channel steel |
| B1800 | 45 degrees | Ø159 | Folded steel plate |
| B2000 | 45 degrees | Ø194 | Heavy folded plate |
These values are for orientation only. A B800 frame can use different trough angles or roller diameters depending on the conveyor design, and a single belt width does not dictate one shaft size.
Buyer Checklist
- Confirm the frame type and mounting hole pattern before ordering.
- State belt width, trough angle, and idler diameter so the bracket matches the existing assembly.
- Decide between fixed and adjustable versions based on how often tracking needs correction.
- Check material thickness and surface treatment for dusty or wet conditions.
- Allow clearance for the belt edge and for the guide roller to rotate freely.
For heavy-duty mining or port applications, a thicker bracket and a Steel Cord Conveyor Belt may run together, but the guide bracket selection still follows the frame and idler dimensions rather than the belt construction alone. In dusty coal mining or underground mining work, a Flame Retardant Conveyor Belt is often specified separately, and the bracket should be chosen to suit the same frame environment.
Maintenance Notes
Inspect guide idler brackets during routine idler checks. Look for loose bolts, bent arms, worn guide rollers, and buildup that prevents adjustment. A bracket that has shifted can cause rapid edge wear on the belt, so recheck alignment after any frame repair. Keeping the bracket clean and correctly positioned is usually more effective than adding extra guide points.