Conveyor Belt Standards and Grades in a Dusty Quarry
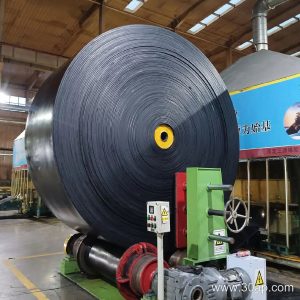
In a dusty quarry, a conveyor belt faces abrasion, impact, and dust penetration. Standards and grades help engineers specify the right belt. But what do these documents actually cover?
Purpose of Conveyor Belt Standards
Standards define test methods, dimensional tolerances, and performance criteria for conveyor belts. They ensure consistency in properties like tensile strength, elongation, and cover hardness. They do not certify a belt for a specific site.
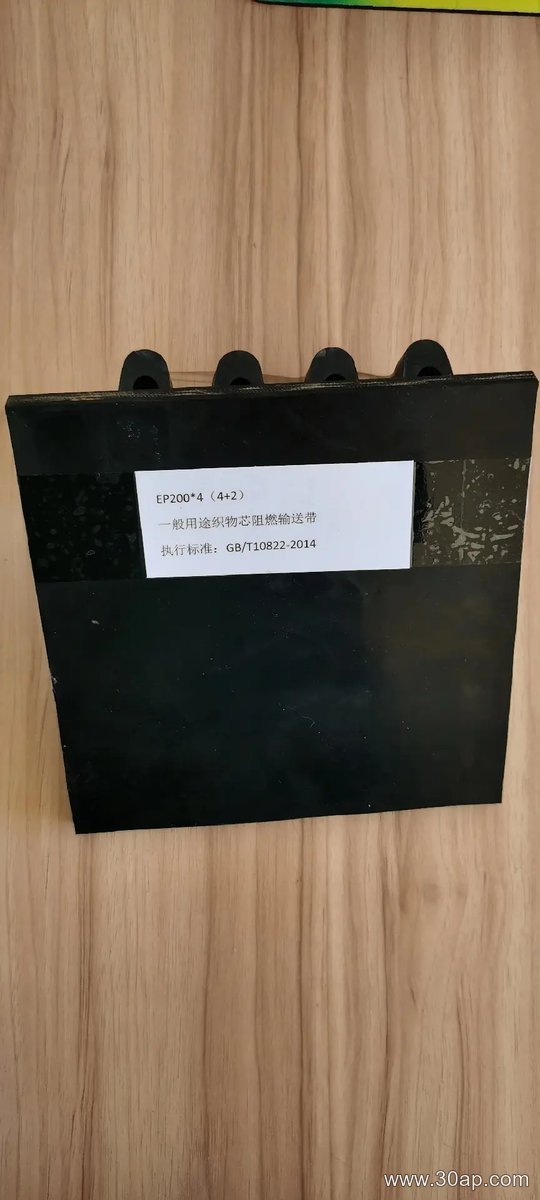
Common Grade Systems
- Cover grades: e.g., abrasion-resistant (Grade A), heat-resistant (Grade K).
- Carcass grades: e.g., EP (polyester-nylon) fabric, steel cord.
- Duty classes: light, medium, heavy-duty based on tensile rating.
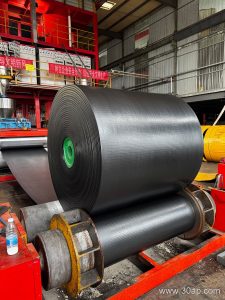
These grades guide selection. For a dusty quarry, a heavy-duty EP rubber conveyor belt with an abrasion-resistant cover is often appropriate. Always verify that a product meets the relevant standard’s scope, not just its label.
What Makes an Idler Roller Cost More in Wet Conditions?
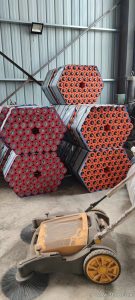
On a wet outdoor conveyor, an idler roller must resist water ingress, corrosion, and belt misalignment. These demands influence four main cost factors: material, dimensions, manufacturing, and freight.
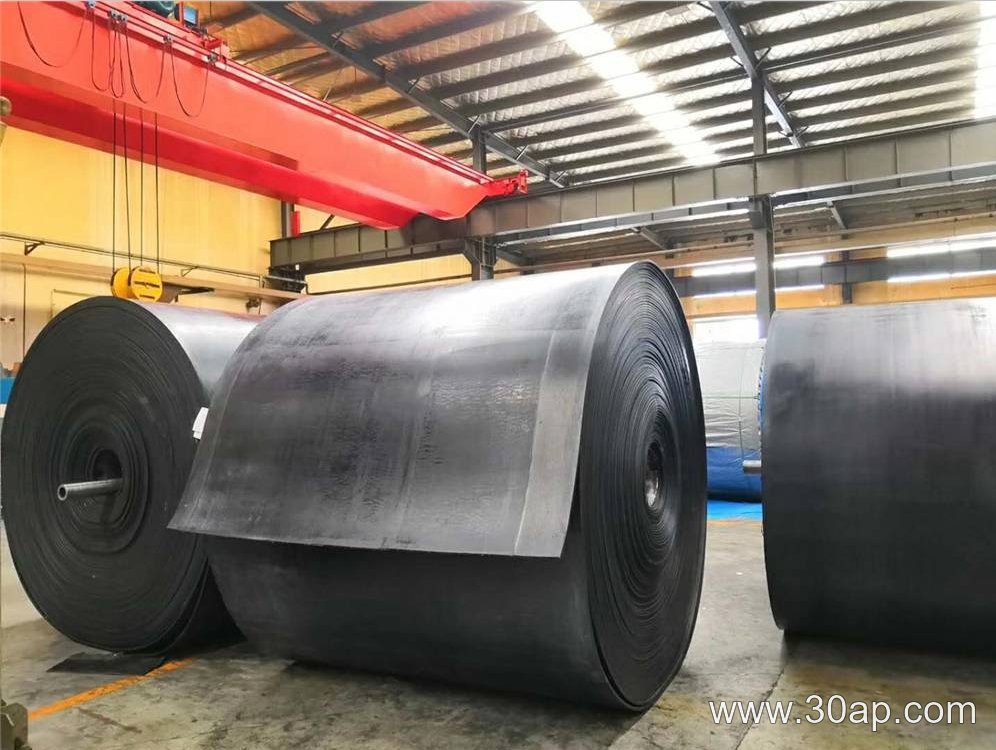
Cost Checklist
- Materials: Stainless steel or polymer seals and bearings cost more than standard steel but reduce rust and seizure risk.
- Dimensions: Larger diameter, thicker wall, and longer shaft increase raw material and machining time.
- Manufacturing: Double-sealed or self-aligning designs add precision steps and quality control.
- Freight: Heavier and bulkier idler rollers raise shipping charges, especially for long-distance delivery.
Balancing these factors keeps an idler roller cost-effective without sacrificing wet-weather reliability.
Reading a Conveyor Pulley Datasheet
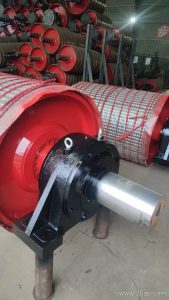
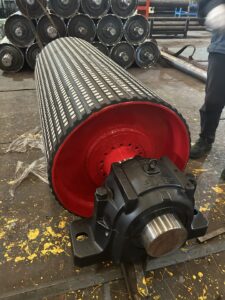
A common misconception is that a conveyor pulley is specified only by diameter and face width. In practice, a datasheet lists several fields that together define fit, load capacity, and belt interface. Learn to read them before ordering.
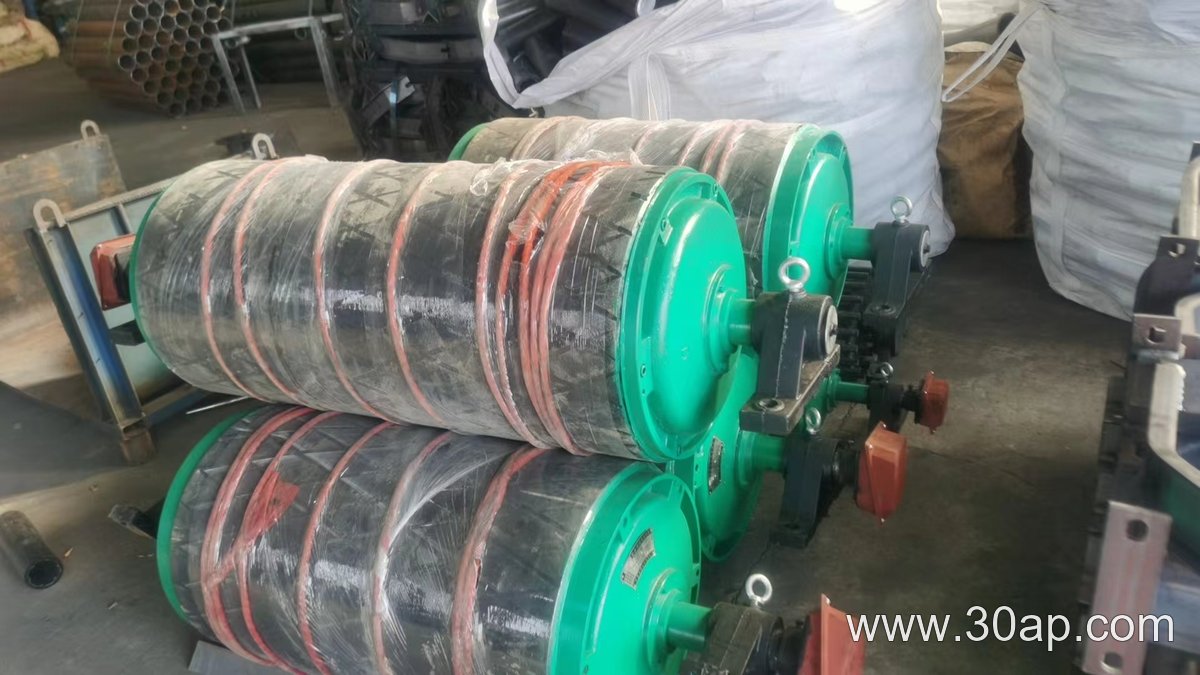
Core Specification Fields and Units
- Diameter (mm or in): Outside diameter of the shell, often measured over lagging. It affects belt speed and wrap angle.
- Face width (mm or in): Usable shell length for the belt. Must match or slightly exceed belt width.
- Shaft diameter (mm or in): Diameter at bearing seats and hub. Determines torque capacity and bearing selection.
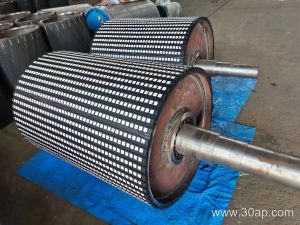
- Lagging type and thickness (mm or in): Plain steel, rubber, or ceramic. Thickness adds to overall diameter.
- Bearing centers (mm or in): Distance between bearing housing centers. Sets mounting position.
- Load rating (kN or lbf): Maximum radial load at the shaft. Do not exceed; check with conveyor tension.
How to Interpret Values
All dimensions are nominal unless marked as maximum or minimum. Lagging thickness changes the effective pulley diameter, which alters belt speed. Bearing centers must match the frame; a mismatch causes misalignment. Load rating is not a recommendation—it is a limit. Always cross-check with the conveyor’s calculated tension and the manufacturer’s published data.
Preparing for Conveyor Bracket Installation
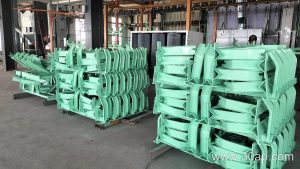
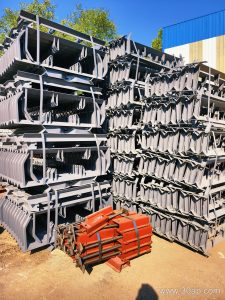
Before mounting a conveyor bracket on a wet outdoor conveyor, verify that the frame surface is clean, dry, and free of rust or scale. Gather the correct fasteners, shims, and alignment tools. Confirm that the bracket matches the idler or guide rail it will support.
Mounting the Conveyor Bracket
Position the conveyor bracket against the frame and insert bolts finger-tight. Use shims to correct any gap caused by frame irregularities. For wet outdoor locations, apply a suitable anti-seize compound to bolt threads to ease future removal.
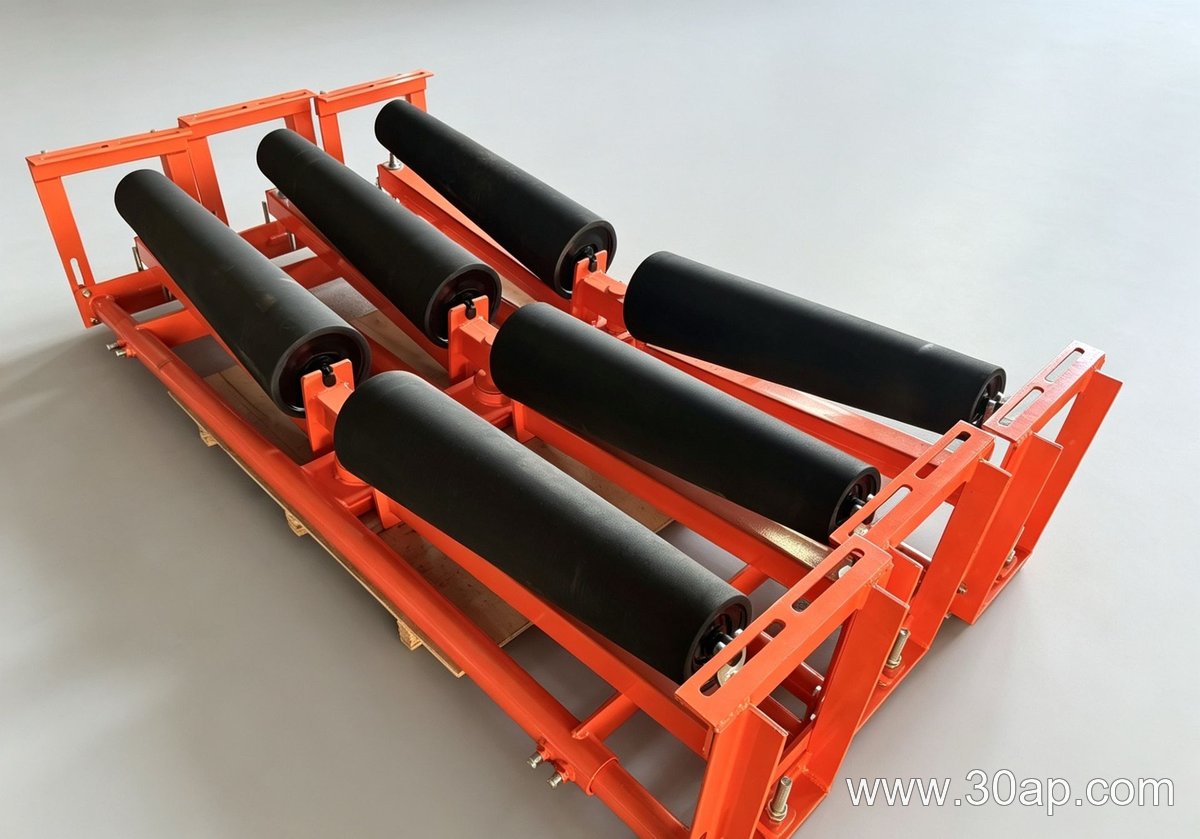
Aligning and Commissioning the Conveyor Bracket
Align the bracket so the supported idler or rail is square to the belt path. Tighten bolts to the specified torque in a crossing pattern. During commissioning, run the conveyor empty and check for bracket movement, belt tracking, and any signs of water pooling around the mounting area.