Galvanized vs. Stainless Steel: Material Trade-offs for Conveyor Brackets
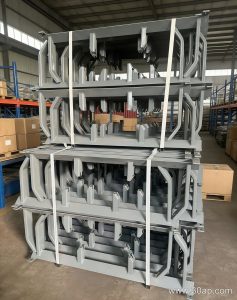
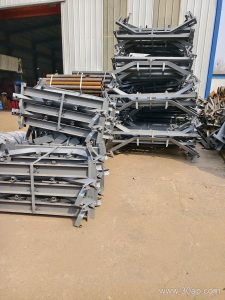
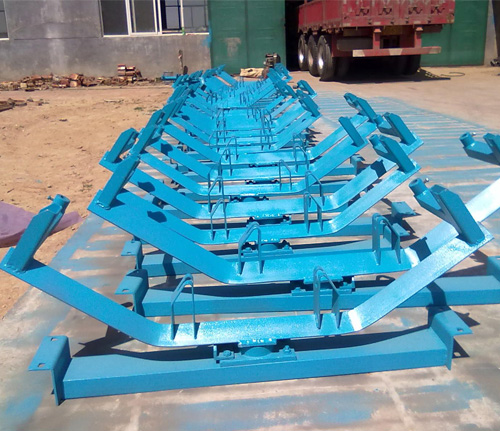
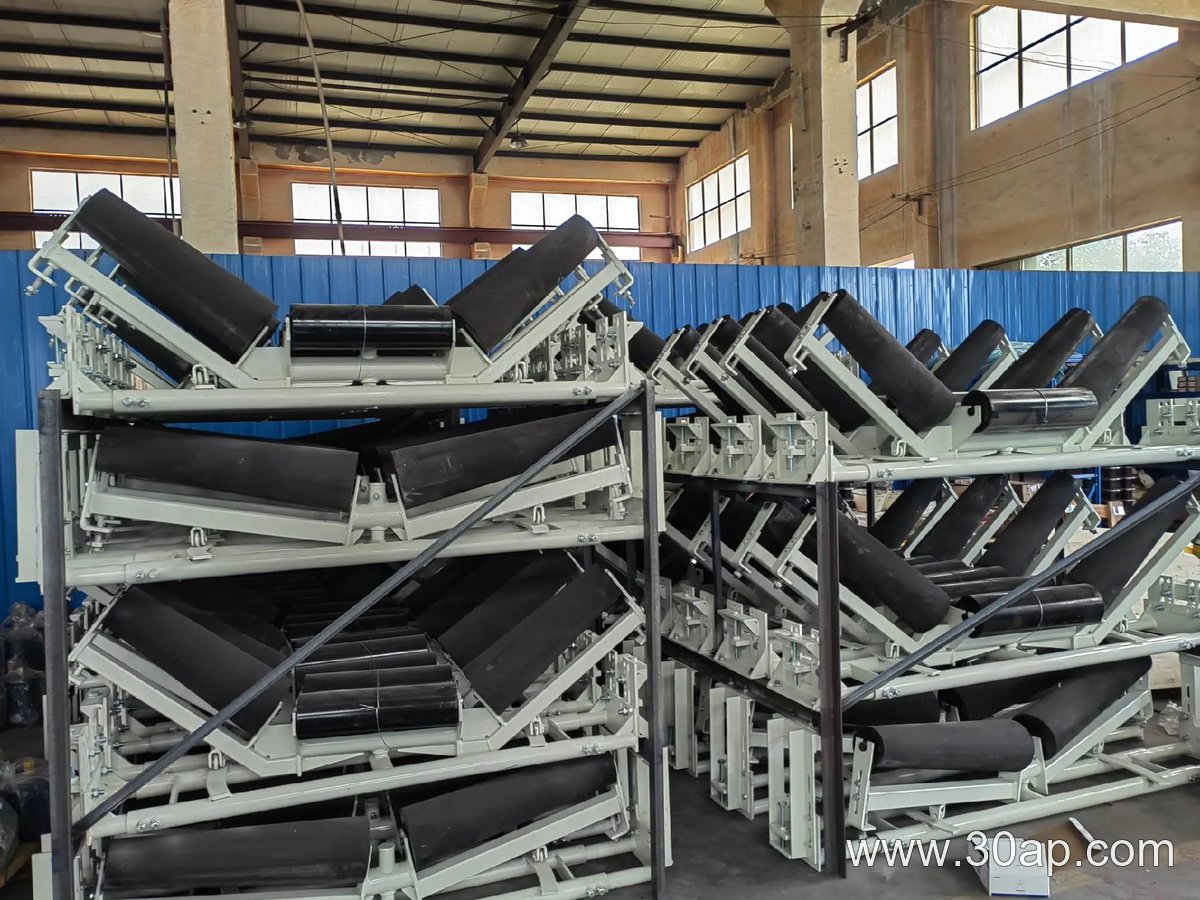
At a bulk-material port terminal, a conveyor bracket must support idler rolls while fighting salt-laden air and abrasive dust. Two common material choices are hot-dip galvanized carbon steel and stainless steel. Each brings distinct advantages in application fit and purchasing cost.
Application Fit: Corrosion and Strength
Galvanized steel offers a zinc coating that protects the base metal from corrosion. In a port environment, this coating can last many years if not damaged. However, scratches or cut edges expose carbon steel to rust. Stainless steel, such as grade 304 or 316, resists corrosion inherently, even when scratched. Grade 316 performs better in chloride-rich coastal air. For a conveyor bracket near the ship unloader, where salt spray is constant, stainless steel often provides a longer service life. But stainless steel has lower yield strength than some high-strength carbon steels, so the bracket design may need thicker sections to carry the same load.
Purchasing Cost and Lifecycle
Stainless steel typically costs two to four times more per kilogram than galvanized carbon steel. For a terminal with hundreds of brackets, that difference is significant. Galvanized brackets require periodic inspection and possible touch-up painting, adding maintenance cost. Stainless steel brackets reduce maintenance but demand a higher initial investment. A hypothetical project with 500 brackets might see a 60% higher material cost for stainless, but lower long-term repair expenses. The trade-off depends on the terminal’s budget and tolerance for downtime.
Making the Choice
- Choose galvanized if the conveyor bracket is in a sheltered area, the budget is tight, and a maintenance program exists.
- Choose stainless steel if the bracket is exposed to direct salt spray, if production downtime is costly, or if the terminal operates in a highly corrosive zone.
In practice, some terminals use a hybrid approach: stainless steel for critical, hard-to-reach conveyor brackets and galvanized for less exposed locations. Always verify material certificates and consider the specific loads and environment before finalizing the specification.
Abrasion Resistance: The Deciding Factor for Conveyor Belt Performance in Cement Plants
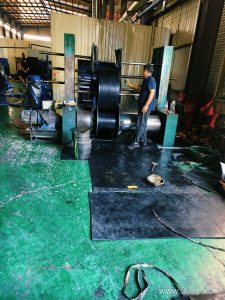
In a cement plant, a conveyor belt faces a constant barrage of sharp, gritty materials like crushed limestone, clinker, and gypsum. The belt’s ability to resist abrasion directly determines its lifespan and the plant’s operational efficiency. This article examines how abrasion resistance influences conveyor belt performance, with a focus on practical implications for cement plant operations.
Understanding Abrasion Resistance in Conveyor Belts
Abrasion resistance refers to a conveyor belt’s ability to withstand surface wear from sliding, impact, and scraping against hard particles. In cement production, materials are often jagged and hot, accelerating wear. The belt’s cover compound, typically rubber, is formulated to balance hardness, elasticity, and cut resistance. A harder cover may resist gouging but can crack under flexing; a softer cover may absorb impact but wear faster. The optimal choice depends on the specific material and operating conditions.
Performance Trade-offs in Cement Plant Applications
Consider a hypothetical cement plant moving clinker from a cooler to a storage silo. The conveyor belt must handle temperatures up to 150°C and resist abrasion from sharp clinker particles. A standard abrasion-resistant belt might use a natural rubber blend, but if heat is also a factor, a blend with heat-resistant additives may be needed. However, increasing heat resistance can sometimes reduce abrasion resistance, creating a trade-off. Plant operators must prioritize based on the dominant wear mechanism.
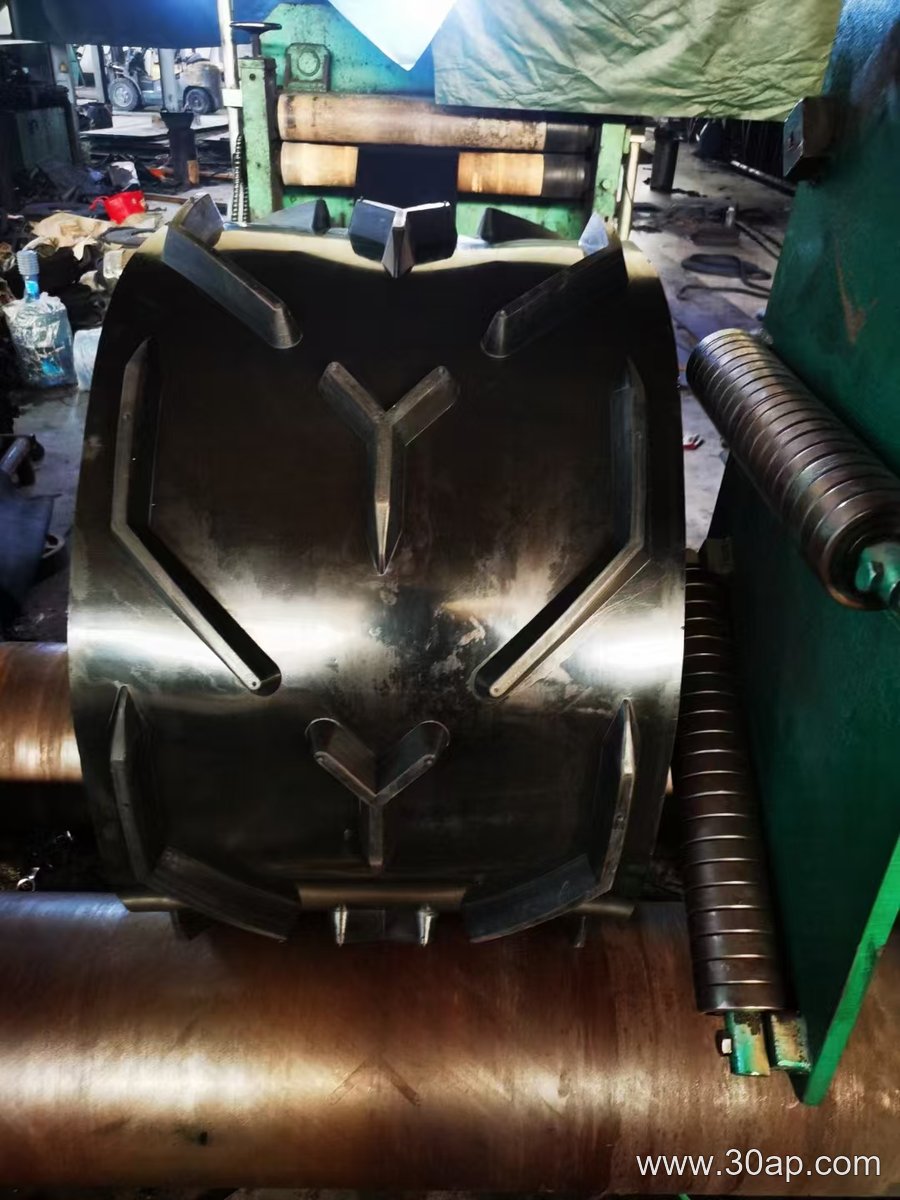
For instance, a belt with high abrasion resistance might have a cover grade like DIN 22102 X, which indicates good wear resistance. But if the belt also needs to resist oil from machinery, a different compound may be required. In such cases, a multi-layered approach or a specialized cover may be necessary, though this can increase cost.
Practical Considerations for Selection and Maintenance
- Material characteristics: Analyze the size, shape, and temperature of the conveyed material. Sharp, hot clinker demands a belt with both abrasion and heat resistance.
- Belt construction: Fabric core belts like NN300 offer good flexibility and moderate abrasion resistance, while steel cord belts like ST1000 provide higher tensile strength but may have different wear profiles.
- Cover thickness: Thicker covers can extend wear life but add weight and reduce flexibility. A balance is needed.
- Maintenance: Regular inspection for wear patterns, proper belt training to avoid edge damage, and timely repair of cuts can maximize abrasion resistance.
In a cement plant, the conveyor belt is a critical component. By understanding abrasion resistance and its interplay with other factors, operators can select a belt that delivers reliable performance and minimizes downtime.
Idler Roller Installation: What Must Be Done Before the Belt Turns?
How do you install an idler roller so it supports the belt correctly from the first hour of operation? The answer starts with preparation, moves through precise mounting and alignment, and ends with commissioning checks that confirm the roller turns freely under load. A general manufacturing line—where conveyors move boxes, parts, or bulk ingredients—provides a useful setting to explain these steps.
Preparation Before Mounting an Idler Roller
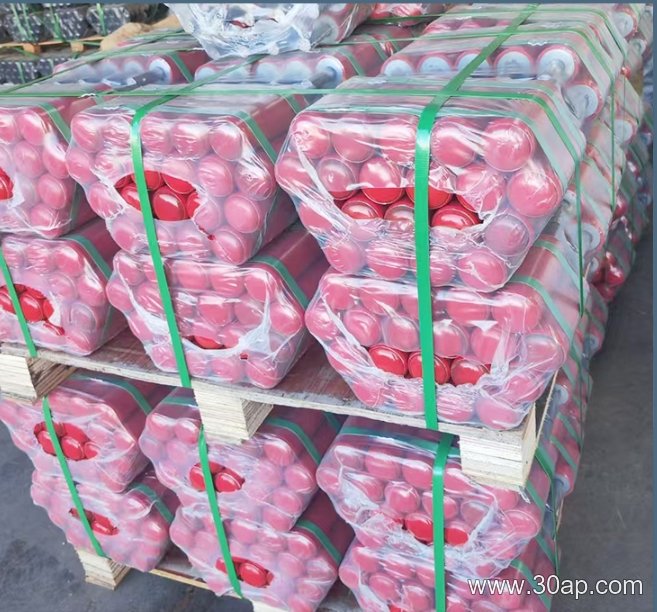
Before an idler roller is fitted, confirm that the frame is clean, square, and free of weld spatter or debris. Check that the roller’s shaft diameter, tube length, and bearing type match the bracket or frame slot. Inspect each idler roller for shipping damage: a dented tube or rough bearing will cause vibration and premature wear.
- Verify the conveyor frame is level and the brackets are at the correct height.
- Remove protective caps and confirm the shaft turns smoothly by hand.
- Gather the correct fasteners, spacers, and any required lifting equipment.
Mounting and Alignment of the Idler Roller
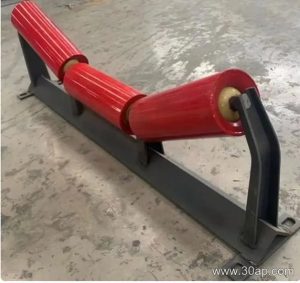
Mount the idler roller so its axis is perpendicular to the belt travel direction. If the roller is skewed, the belt will track to one side. Use a string line or laser alignment tool along the conveyor centerline to check each roller. For a typical troughing set, the side rollers should sit at the specified angle, and all rollers in a station must share the same elevation. Tighten fasteners evenly to avoid twisting the bracket. A hypothetical example: on a 1,000 mm wide belt, a misalignment of 2 mm across the roller face can cause noticeable edge wear within weeks.
Commissioning Checks After Idler Roller Installation
After all idler rollers are mounted, run the conveyor empty for several minutes. Watch for belt wander, unusual noise, or rollers that stop turning. Then run with a normal load and check again. Use a non-contact thermometer to compare bearing temperatures—a hot bearing indicates excessive preload or contamination. Confirm that the belt contacts the center of each roller and that no roller rubs against the frame. Record the checks for future maintenance.
Proper installation of an idler roller is not a one-time task; it sets the baseline for reliable conveying. Recheck alignment after the first week of operation, especially on new or repaired lines.
A Dimensional Starting Point for Conveyor Pulley Selection
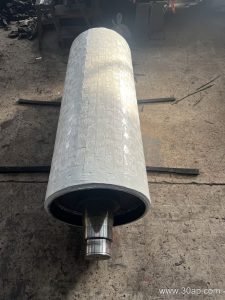
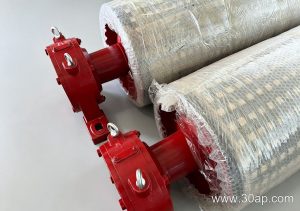
How do you choose a conveyor pulley when the belt width is already fixed by an existing structure? In this hypothetical mineral-processing plant, the belt is 1200 mm wide, and that single constraint drives the face width, lagging pattern, and shaft layout of the conveyor pulley. The exercise below treats 1200 mm as a hard dimensional limit and works outward from there.
Step 1: Translate Belt Width into Conveyor Pulley Face Width
Face width is not identical to belt width. A typical rule is to add 50–100 mm per side for manufacturing tolerance, belt wander, and lagging edge clearance. For a 1200 mm belt, a conveyor pulley face of about 1300–1400 mm is a reasonable starting assumption. This is a project-specific value, not a universal specification.
Step 2: Check Diameter Against Belt Tension and Wrap
Diameter affects belt bending stress and pulley torque. With a hypothetical head pulley wrap of 180° and a calculated belt tension of 40 kN, the required diameter depends on the belt’s minimum pulley diameter rating from its manufacturer. If that rating is, for example, 500 mm, a 630 mm conveyor pulley diameter may be selected to add fatigue margin. Do not invent a diameter without the belt maker’s data.
Step 3: Confirm Shaft and Hub Loads for the Conveyor Pulley
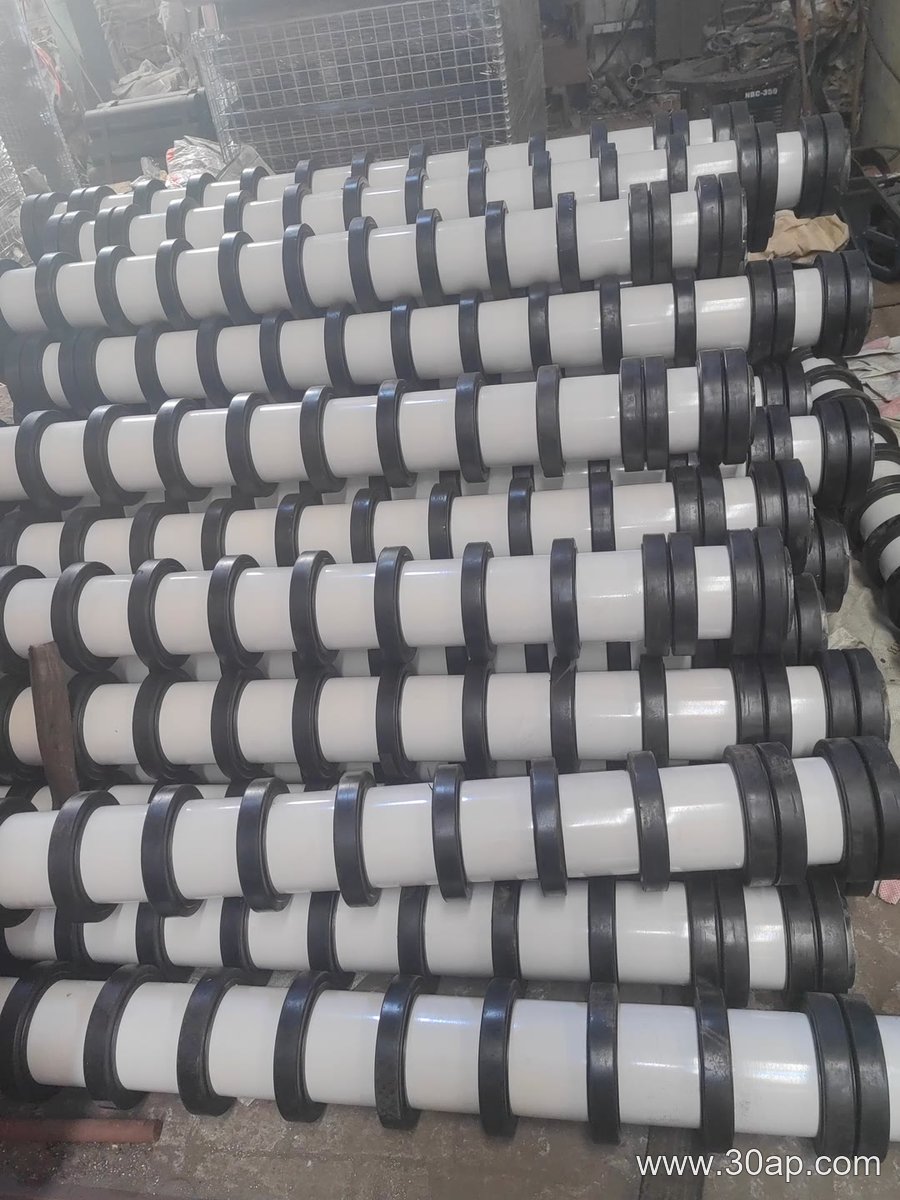
The shaft must resist bending from belt tension and torque from drive demand. For the hypothetical 40 kN tension, the shaft diameter is sized by the allowable stress of the chosen steel, not by face width alone. A larger conveyor pulley diameter lowers belt stress but increases torque for the same power, so the two dimensions trade off.
Step 4: Choose Lagging for the Duty
In a mineral-processing plant, wet or dusty conditions may favor rubber lagging with a grooved pattern for water shedding. Plain lagging may suit a dry tail pulley. The lagging thickness adds to the pulley diameter, so confirm the final outside diameter after lagging before checking belt clearance.
Practical Check Before Ordering
- Face width: 1300–1400 mm for a 1200 mm belt (hypothetical).
- Diameter: set by belt minimum rating, not by guesswork.
- Shaft: sized from tension and torque, then checked in the hub.
- Lagging: matched to moisture and slip risk.
With one fixed dimension—belt width—the conveyor pulley selection becomes a chain of dependent checks. Mark every assumed value as project-specific and verify against the belt supplier’s data and the actual duty.