Essential Preparation and Mounting Steps for a Conveyor Bracket
Proper installation of a conveyor bracket begins well before any mechanical hardware is tightened down on the structural stringers. In a high-capacity bulk-material port terminal handling continuous streams of iron ore or coal, stringer beams must be thoroughly inspected for flatness, structural squareness, and freedom from weld spatter or scale. Technicians need to review structural layout drawings to verify that mounting hole spacing matches the engineering tolerances specified for the conveyor bracket. Surface preparation is critical; any paint overspray, rust, or debris on the contact face of the stringer must be mechanically removed using wire brushes or angle grinders to ensure metal-to-metal contact.
Once the mounting surface is prepared, staging the hardware correctly prevents assembly delays. Installers should select high-strength structural bolts, hardened flat washers, and appropriate locking mechanisms such as prevailing-torque nuts or spring lock washers. Hand-thread all bolts through the conveyor bracket slots into the stringer or stringer channel before applying any final torque. This ensures the component rests flat against the support structure without binding or introducing premature bending moments into the mounting flanges.
Precision Alignment Procedures During Assembly
Achieving a correct mechanical alignment prevents uneven belt wear, premature idler bearing failure, and mistracking along the conveyor line. After securing the conveyor bracket loosely, string lines or optical alignment lasers should be established along the longitudinal axis of the conveyor gallery. Measure the perpendicularity of each conveyor bracket relative to the center stringer line using a precision framing square. Even minor angular deviations can translate into significant lateral forces on the moving belt over long spans.
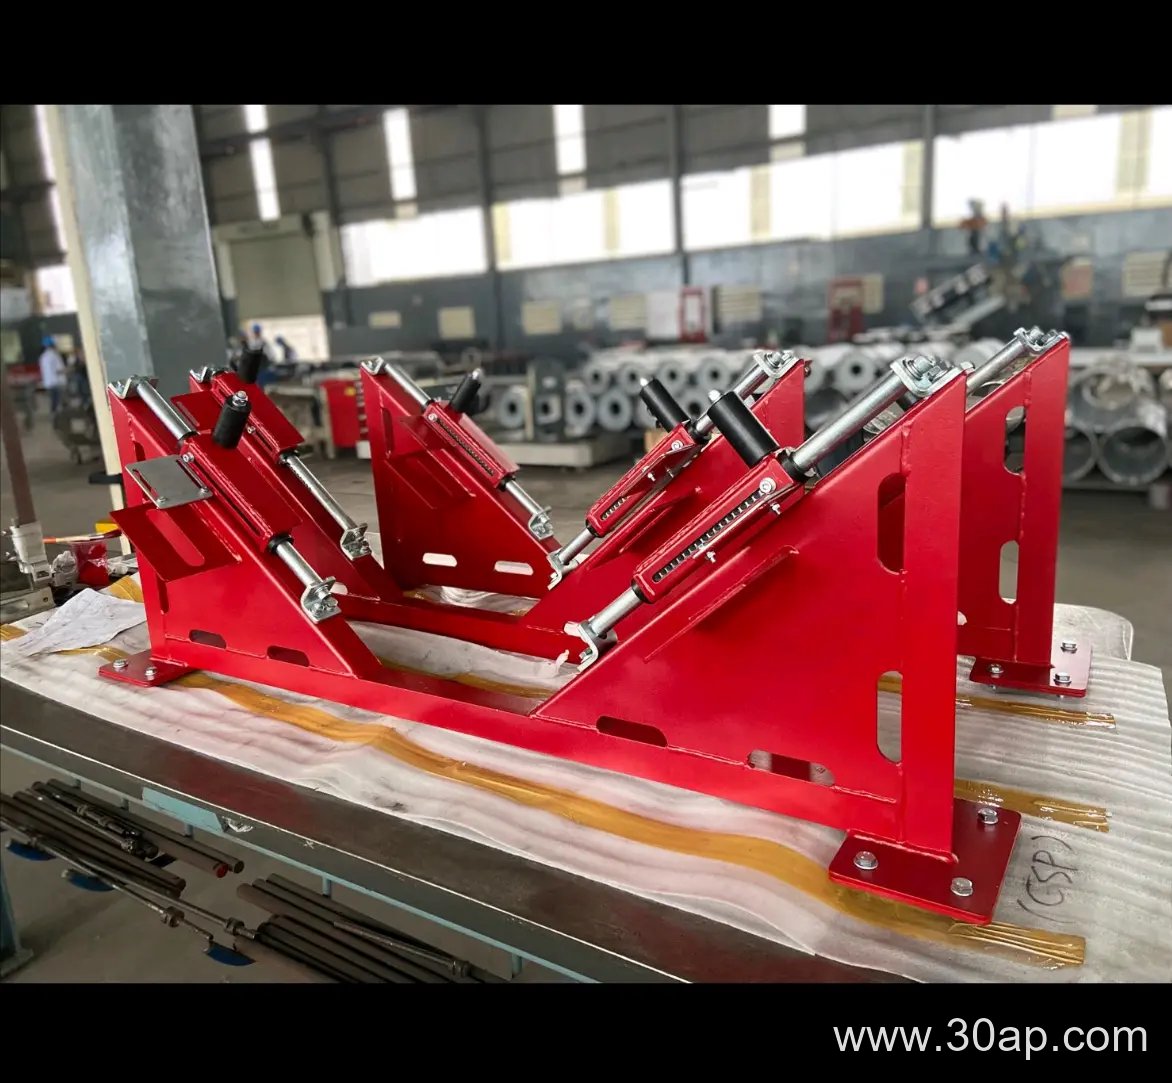
Height adjustments require careful shimming if stringer levels exhibit minor manufacturing or erection tolerances. When leveling a conveyor bracket, use full-contact steel shims rather than partial or tapered wedges that can distort under heavy dynamic loads. Torque the mounting fasteners in a cross-pattern sequence to distribute clamping forces evenly across the baseplate. Re-check the lateral position and tilt angle after reaching the target torque value, as the tightening process itself can occasionally shift the conveyor bracket slightly out of position.
Commissioning Checks and Dynamic Verification Protocols
The final phase of installation involves rigorous commissioning checks before introducing any bulk cargo into the system. Technicians must perform a physical inspection of every installed conveyor bracket to verify that no tools, stray hardware, or packing materials are trapped near moving pinch points. Turn the idler rolls by hand to confirm they spin freely without binding against the newly mounted support structures. Any abnormal resistance indicates localized frame distortion or improper spacing.
During no-load test runs, observe the behavior of the idler assemblies and the running belt under power:
- Monitor for unusual vibration signatures or harmonic humming coming from the bolted joints of the conveyor bracket.
- Check belt tracking behavior across multiple idler stations to confirm that no single conveyor bracket forces the belt laterally.
- Stop the system after a brief initial run to perform a hot-torque verification of all structural fasteners.
Establishing these rigorous installation, alignment, and commissioning protocols ensures that every conveyor bracket maintains structural stability under the severe cyclic loads typical of heavy industrial bulk handling environments.